Introduction
Manually building and uploading iOS apps to TestFlight can be slow and repetitive — especially for Flutter developers pushing frequent updates.
In this guide, I’ll show you how to automate the entire process using Fastlane and a GitHub Actions self-hosted runner.
By the end, your Flutter iOS app will be deployed to TestFlight automatically whenever you push code to your GitHub repository.
Why Use This Setup?
-
Fastlane automates iOS builds and TestFlight uploads.
-
GitHub Actions triggers the process automatically.
-
Self-hosted runners allow iOS builds to run on your own Mac (required for iOS).
Prerequisites
Before we start, make sure you have:
-
An Apple Developer Account (Join here)
-
A working Flutter iOS app that builds locally
-
A Mac machine to act as the self-hosted runner
-
A GitHub repository with your Flutter project code
-
Homebrew installed on your Mac
Step 1: Install Fastlane
On your Mac:
brew install fastlane
Verify installation:
fastlane --version
Step 2: Create an App Store Connect API Key
-
Go to App Store Connect
-
Log in with your Apple Developer account
-
Navigate to Users and Access
-
Click the Integrations tab
-
Click the ➕ button to add a new key
-
Name it
Fastlane Keyand give it Admin access -
Click Generate
-
Download the
.p8file and note:-
Key ID
-
Issuer ID
-
Step 3: Configure Fastlane in Your Flutter Project
Instead of fastlane init (which asks for Apple ID login), configure manually.
From your Flutter project root:
mkdir -p ios/fastlane/private_keys
mv ~/Downloads/AuthKey_XXXXXX.p8 ios/fastlane/private_keys/AuthKey.p8
touch ios/fastlane/Fastfile
touch ios/fastlane/Appfile
ios/fastlane/Fastfile
default_platform(:ios)

platform :ios do
  desc "Push a new beta build to TestFlight"
  lane :beta do
    api_key = app_store_connect_api_key(
      key_id: ENV["APP_STORE_CONNECT_KEY_ID"],
      issuer_id: ENV["APP_STORE_CONNECT_ISSUER_ID"],
      key_filepath: "./fastlane/private_keys/AuthKey.p8"
    )

    build_app(scheme: "Runner")
    upload_to_testflight(api_key: api_key)
  end
end
ios/fastlane/Appfile
app_identifier("com.yourcompany.yourapp") # Replace with your Bundle ID
Step 4: Fix Version Number Issues
If you’ve uploaded a build before, Apple requires the version or build number to increase.
Edit pubspec.yaml:
version: 1.0.32+2
-
1.0.32 → App Store visible version
-
+2 → Build number
Then rebuild locally:
flutter clean
flutter pub get
flutter build ios --release --no-codesign
Step 5: Configure GitHub Self-Hosted Runner
On your Mac:
-
Go to your GitHub repo → Settings → Actions → Runners
-
Click New self-hosted runner
-
Choose macOS
-
Follow the setup commands (example):
mkdir actions-runner && cd actions-runner
curl -o actions-runner-osx-x64.tar.gz -L https://github.com/actions/runner/releases/download/v2.x.x/actions-runner-osx-x64.tar.gz
tar xzf ./actions-runner-osx-x64.tar.gz
./config.sh --url https://github.com/YOUR_USERNAME/YOUR_REPO --token YOUR_TOKEN
./run.sh
Keep the runner process open in a terminal window.
Step 6: Add GitHub Secrets
Go to GitHub → Settings → Secrets → Actions and add:
| Secret Name | Value |
|---|---|
APP_STORE_CONNECT_KEY_ID |
Your Key ID |
APP_STORE_CONNECT_ISSUER_ID |
Your Issuer ID |
APP_STORE_CONNECT_KEY_P8 |
Paste the full content of your .p8 file |
Step 7: Create the GitHub Actions Workflow
Create .github/workflows/ios-testflight.yml:
name: Flutter iOS CI/CD

on:
  push:
    branches:
      - main
  workflow_dispatch:

jobs:
  build_ios:
    runs-on: [self-hosted, macos]

    steps:
      - name: Checkout code
        uses: actions/checkout@v3

      - name: Set up Flutter
        run: |
          echo "Setting PATH"
          export PATH="$HOME/flutter/bin:$PATH"
          flutter --version

      - name: Install Flutter dependencies
        run: flutter pub get

      - name: Build iOS IPA
        run: flutter build ipa --release --no-codesign

      - name: Set up App Store Connect API Key
        run: |
          mkdir -p ios/fastlane/private_keys
          echo "${{ secrets.APP_STORE_CONNECT_KEY_P8 }}" > ios/fastlane/private_keys/AuthKey.p8

      - name: Upload to TestFlight
        working-directory: ios
        env:
          APP_STORE_CONNECT_KEY_ID: ${{ secrets.APP_STORE_CONNECT_KEY_ID }}
          APP_STORE_CONNECT_ISSUER_ID: ${{ secrets.APP_STORE_CONNECT_ISSUER_ID }}
        run: fastlane beta
Step 8: Deploy 🚀
Push your code to the branch you configured:
git add .
git commit -m "Setup iOS CI/CD pipeline"
git push origin main
Your self-hosted runner will:
-
Build the iOS IPA
-
Authenticate with App Store Connect via API key
-
Upload to TestFlight automatically
Conclusion
With this setup:
-
You no longer need to manually open Xcode to upload builds
-
All credentials stay secure in GitHub Secrets
-
Works both locally and in CI/CD environments
Next improvements:
-
Automatically bump version/build numbers
-
Send Slack or email notifications after a successful deployment
-
Add Android build and deploy steps in the same workflow
💬 Questions? Leave a comment below, and I’ll help you set it up!
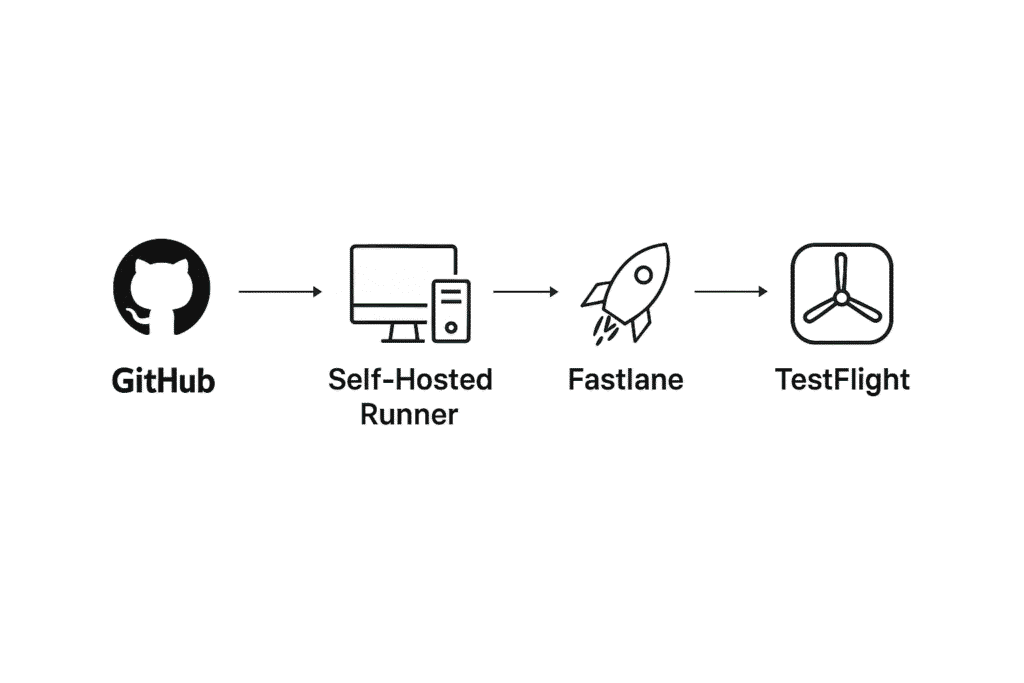
If you want, I can also prepare a simple visual diagram for Elementor showing:
GitHub Push → Self-Hosted Runner → Fastlane → TestFlight